Using Purchase Orders within iRestore
Purchase Orders within iRestore are designed to be used in
tandem with QuickBooks, using the Item and Vendor lists that are directly
synced with your QuickBooks file. If your Item and Vendor lists have not yet
been synced with iRestore, you can find the instructions on how to do so here : http://helpdocs.irestore.io/quickbooks/retrieving-the-quickbooks-item-and-vendor-lists
1. From the Main Menu, you can bring up your
current list of Purchase Orders by clicking ‘Purchase Orders.
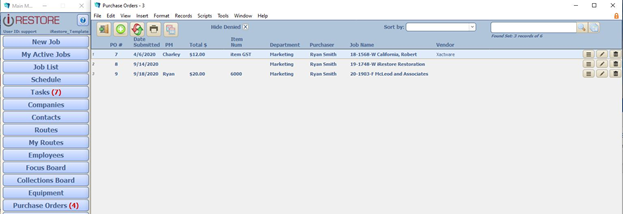
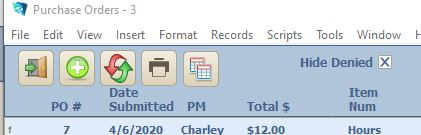
In the top left corner, there are
five options, which from left to right are, Close Window, Create a new PO,
Reset the Next PO Number, Print PO List, and Export List to Excel.
On the List view itself there are
multiple options, the first opens up the Line Item Detail of that specific PO.
The second shows any notes left in the PO Description field.
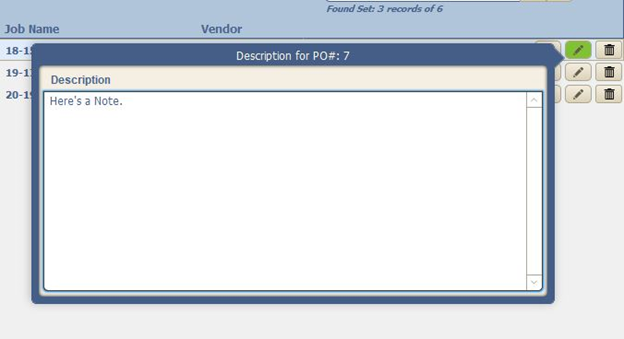
The third will Delete the PO.
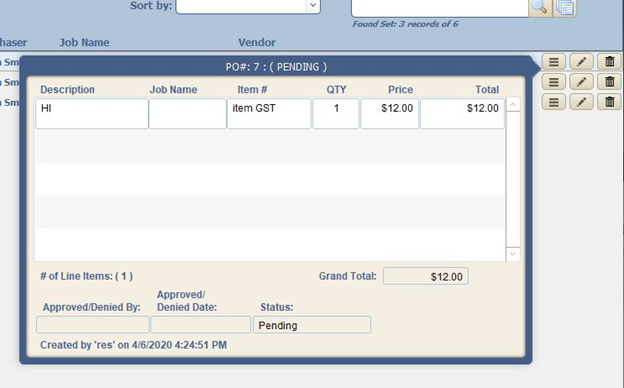
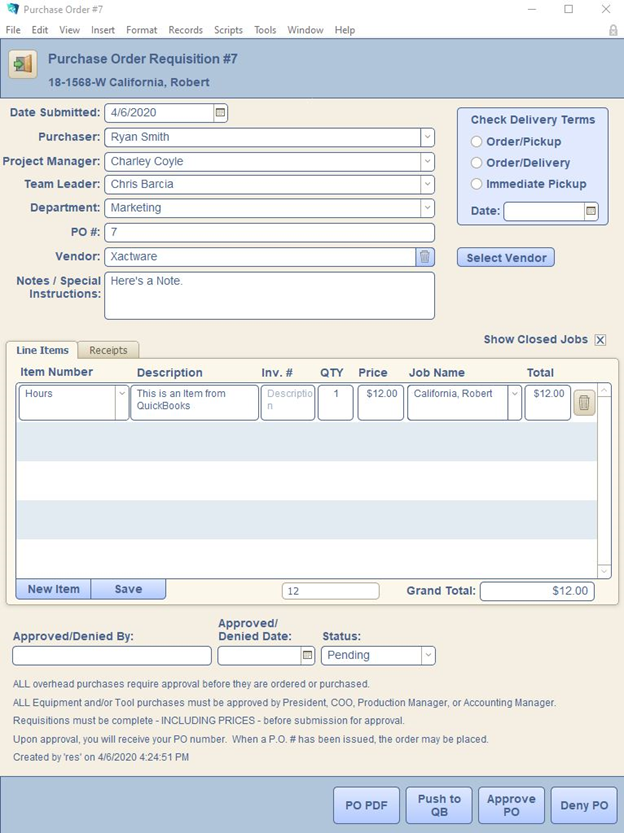
If you click on the Purchase Order itself from the list, you
will get a detailed view of that PO. This includes the dates, and who is
involved with the PO and the jobs it is attached to.
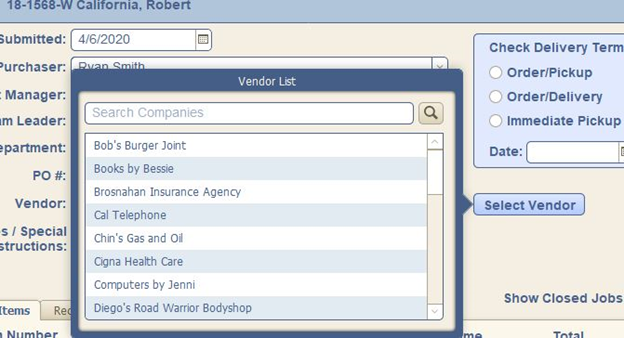
Clicking on Select Vendor will bring up your QuickBooks
Vendor List if it has been synced. If it is empty, you will need to either Sync
the Vendor and Item Lists with QB, or add them in manually. (Note: If adding
Vendors/Items manually, they will not be able to transfer into QuickBooks!)
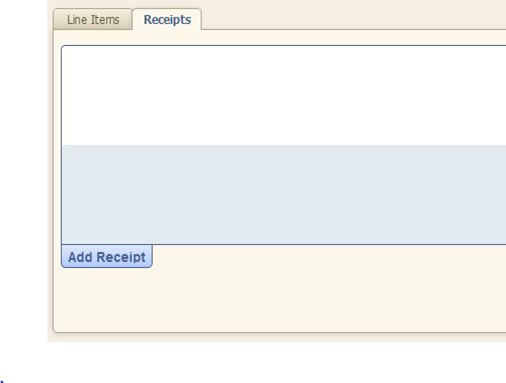
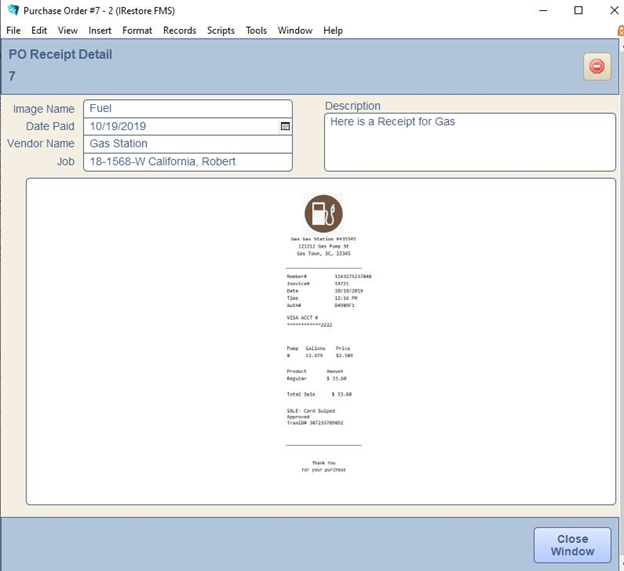
You can also attach a Receipt under the Receipts tab, and
clicking ‘Add Receipt’.
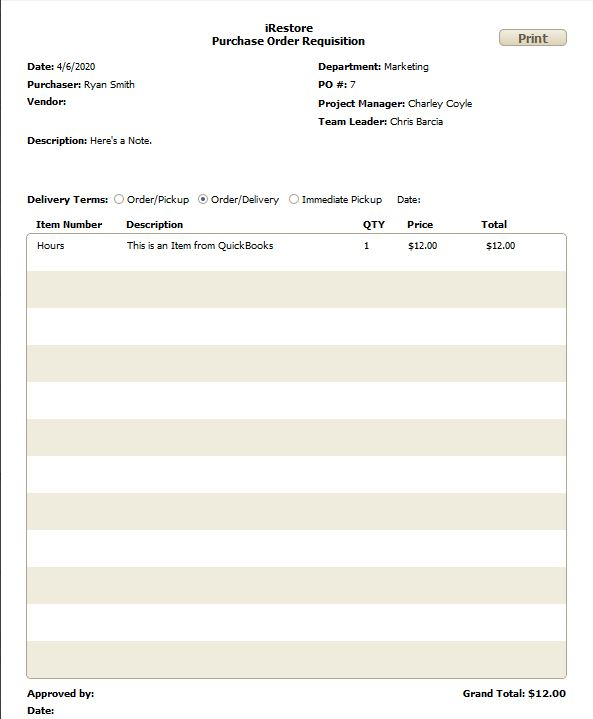
At the bottom of the PO Detail screen you will also see a
button that reads ‘PO PDF’, which takes you to a printable screen: