The header of the Job Detail screen contains several buttons that allow you to accomplish various job functions. Here they are explained from left to right:
1. The Close Window button is used to save and close out of the job.

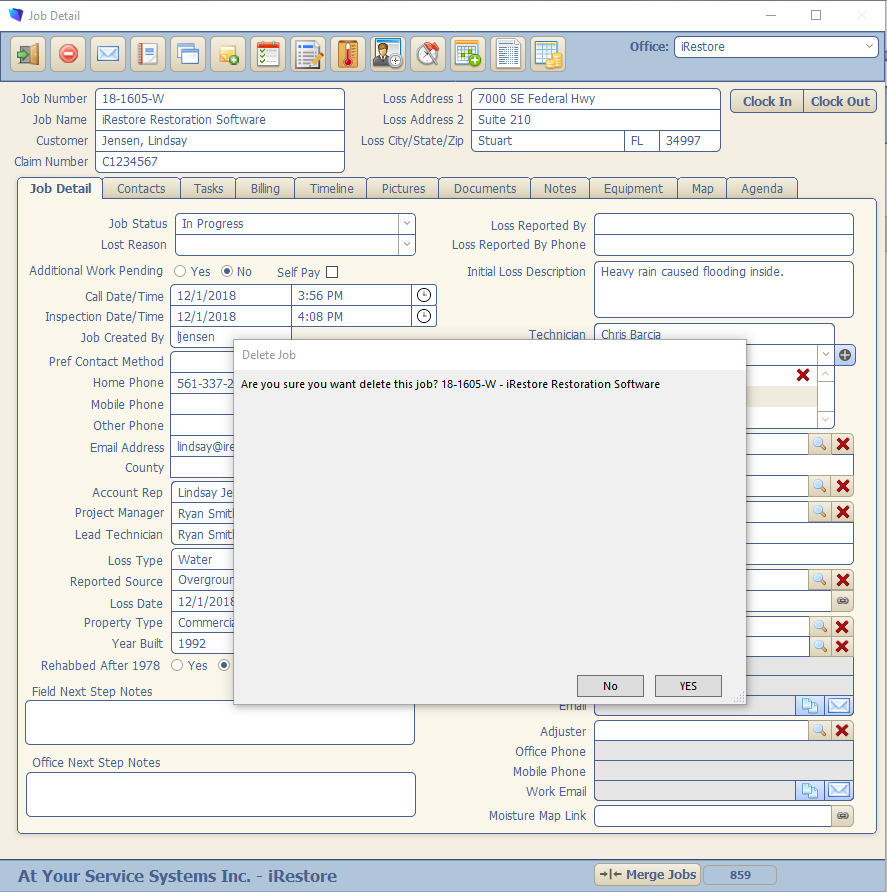
2. The Delete Job button will allow a user with Manager access to delete the job. Once selected, you'll receive a prompt asking if you're sure.
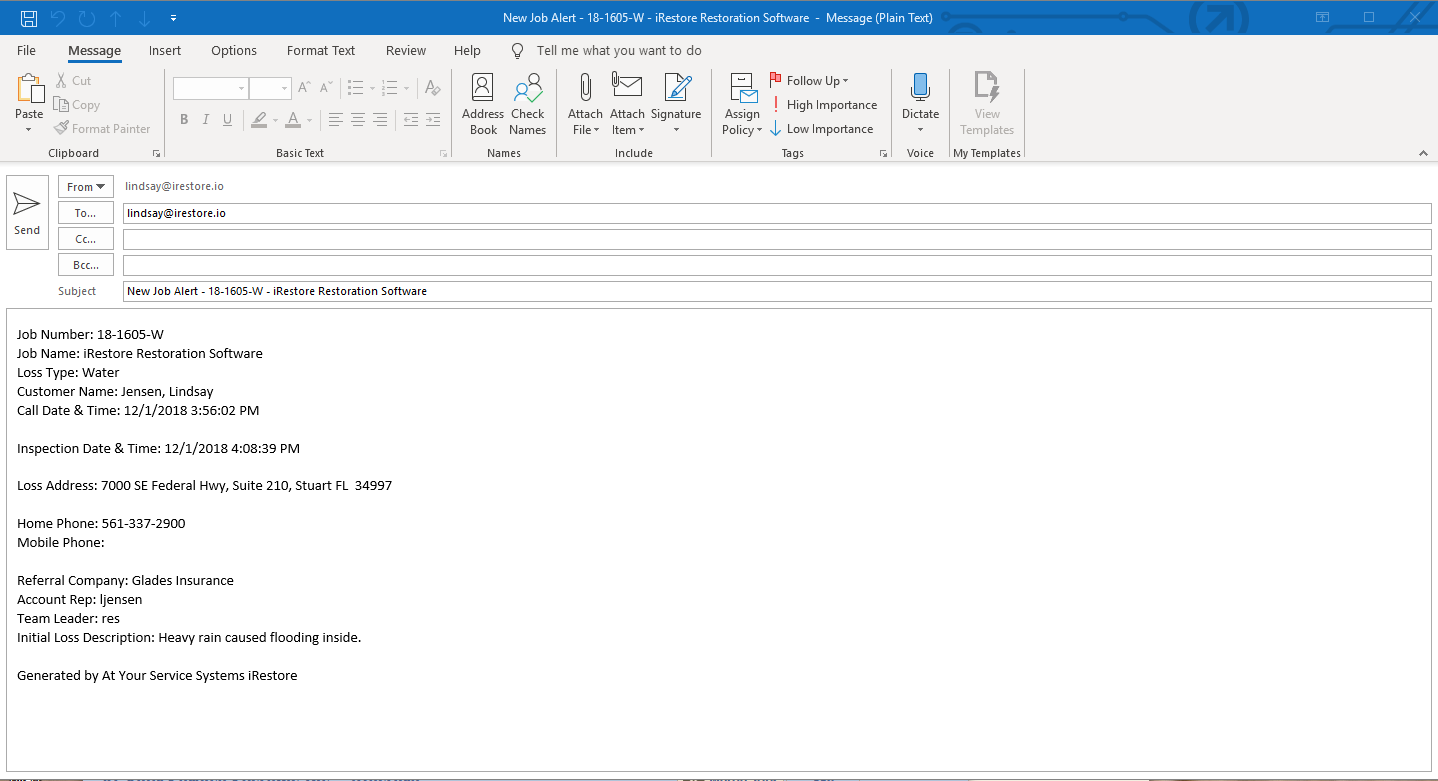
3. Send Job via Email will generate an email message containing the job's basic details.
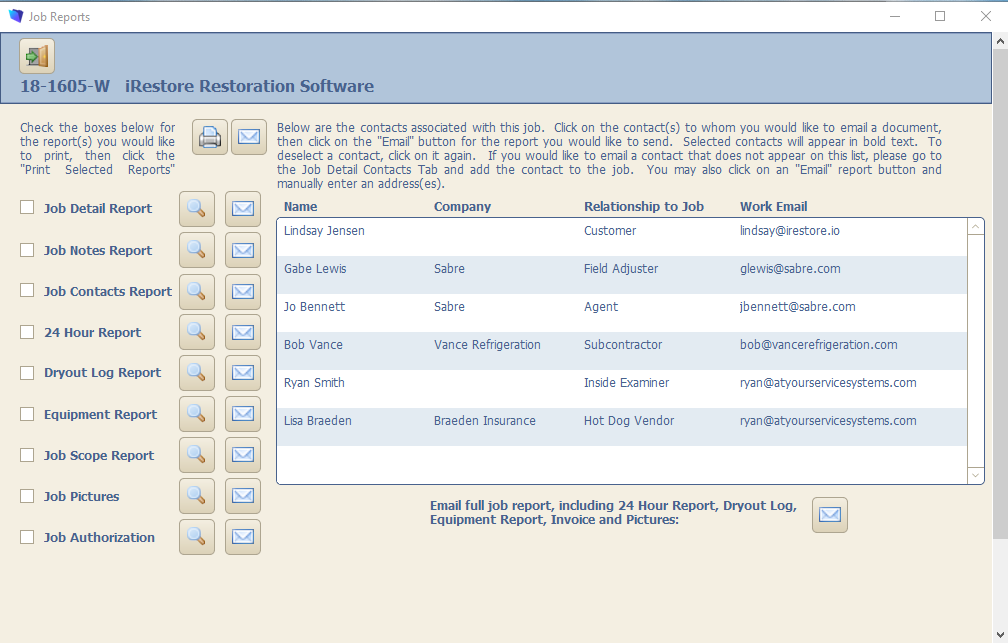
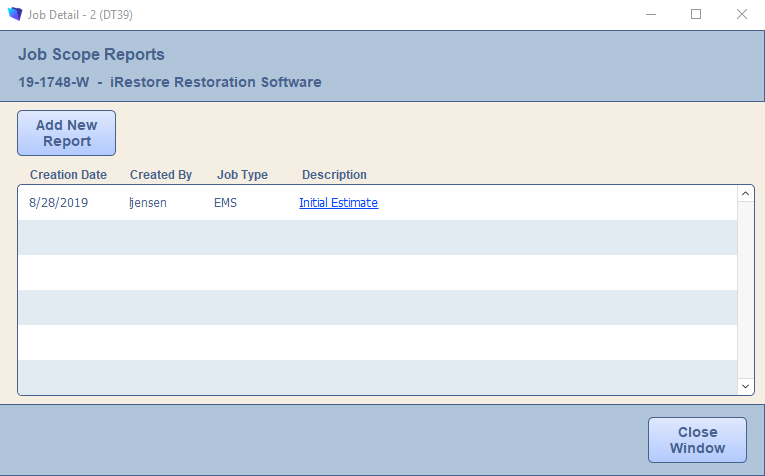
4. Job Reports will take to a list of job reports for that particular job that can be previewed, printed, or emailed.
5. Duplicate Job will make a copy of the job. Once selected, you'll receive a prompt asking if you're sure.
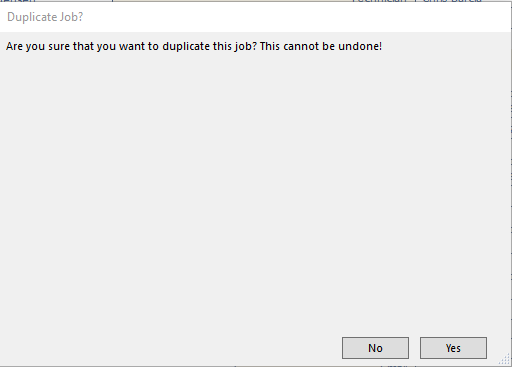
Once Yes is selected, you'll receive another prompt asking if the two jobs are related (i.e. from the same loss).
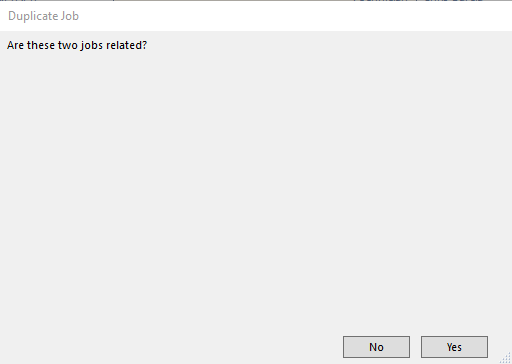
If No is selected, it will clear out all fields/tabs except for the customer's demographic information and the Referral Source.
If Yes is selected, it will clear out the Inspection Date/Time, the employees assigned (except Account Rep), the Billing tab, the Timeline tab (except Loss, Call, 24 Hr Rpt Completed, Sketch Completed) and changes the Loss Type.
6. Add Job Note. This is an alternative to going through the Notes tab and clicking the green + sign.

7. Create a Task. This is an alternative to going through the Tasks tab and clicking the Create a Task button.

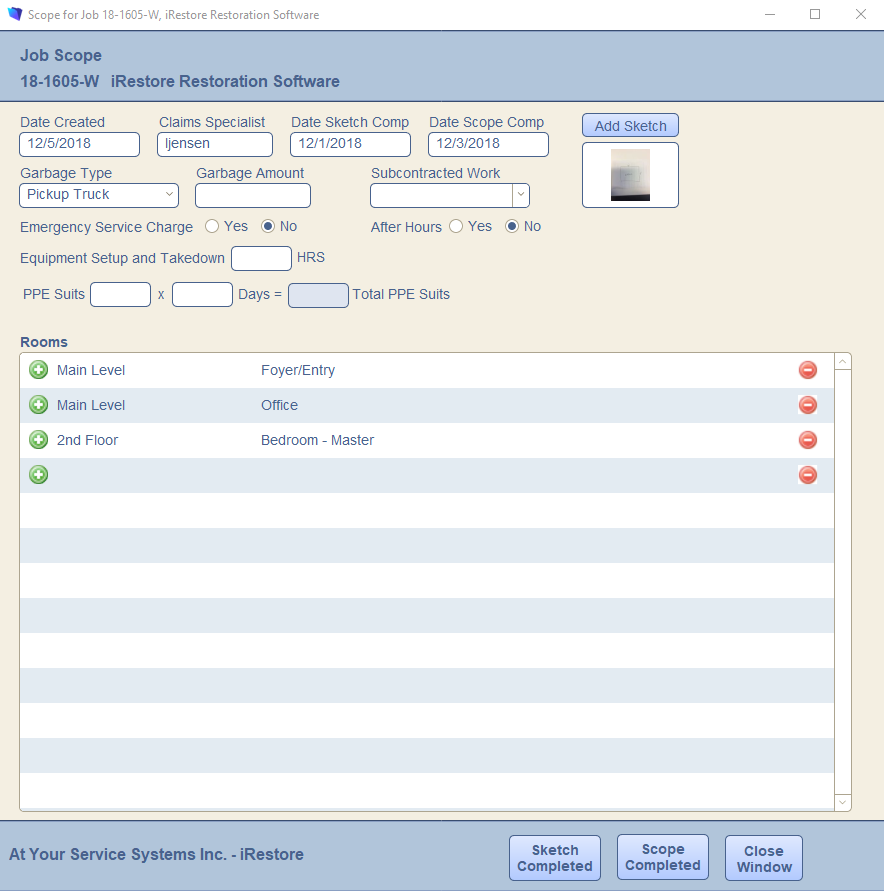
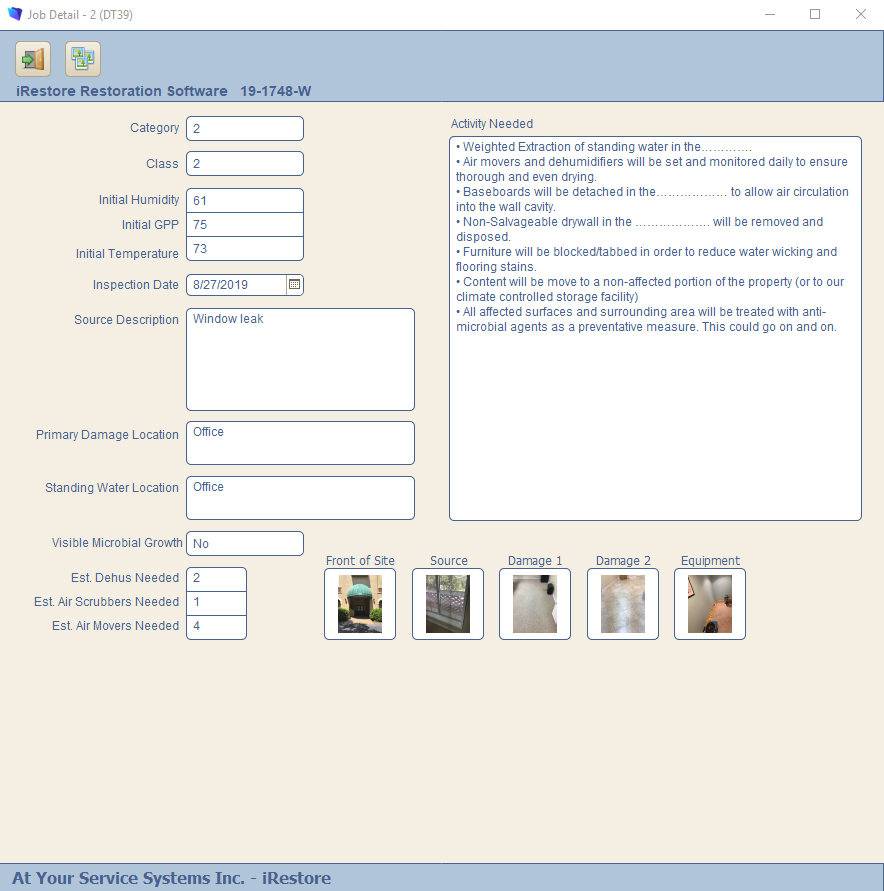
8. Edit Job Scope allows you to make changes to the job scope and its corresponding rooms.
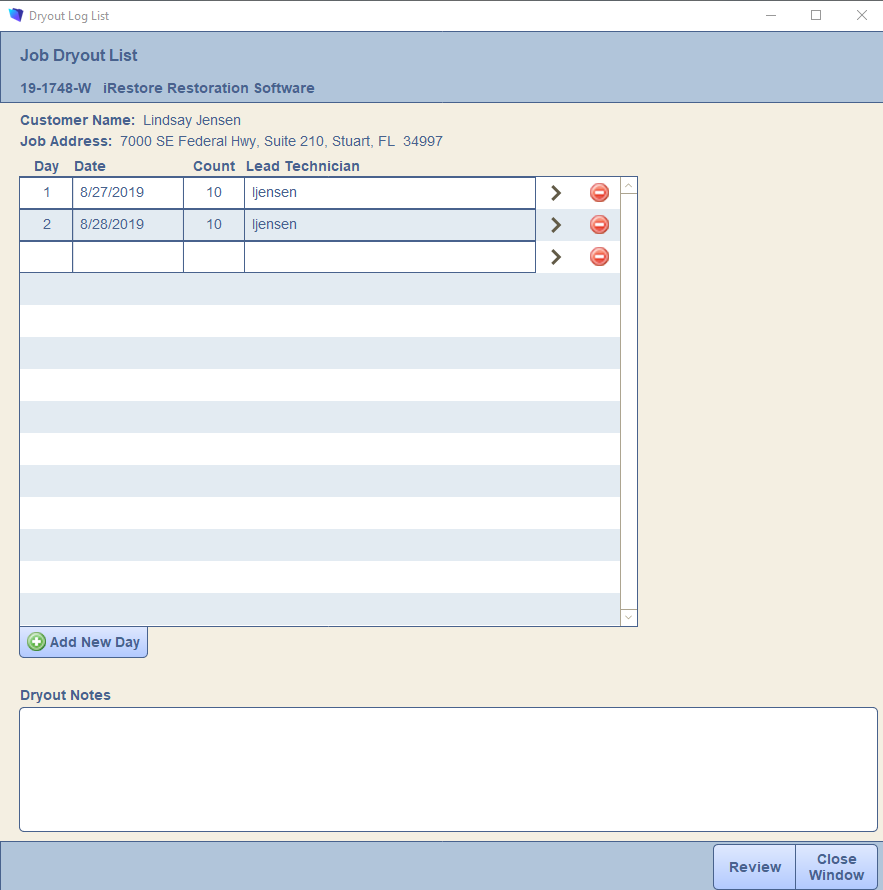
9. Edit Dryout Log allows you to make changes to the dryout log. You can click on a specific day to edit and add new days as needed.
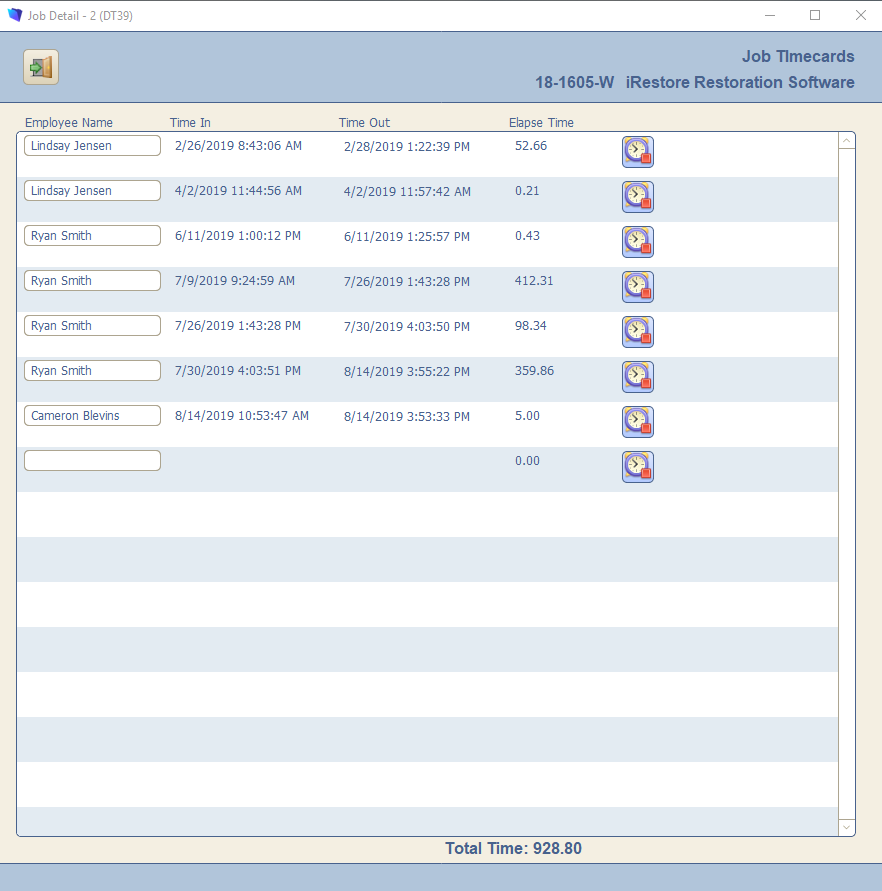
10. Open Job Timecard will show you all the employees times for this particular job. Times can be modified by clicking under the Time In or Time Out columns. You can also add an employee and their time if needed.
11. Open 24 Report will pull up the 24 Hour Report and allow you to make changes.
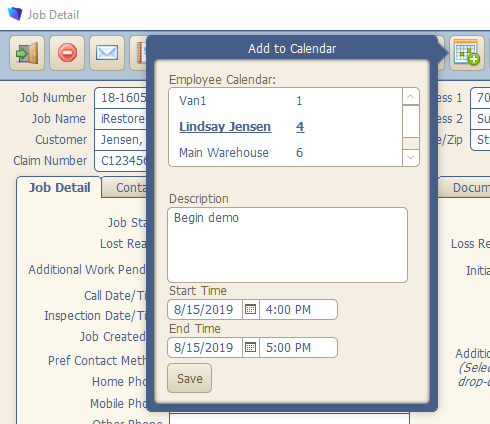
12. Add Event to Calendar will create an appointment on the calendar using the specified Employee(s) and Start/End Time.
13. The Estimate button allows you to create estimates/invoices for the job.
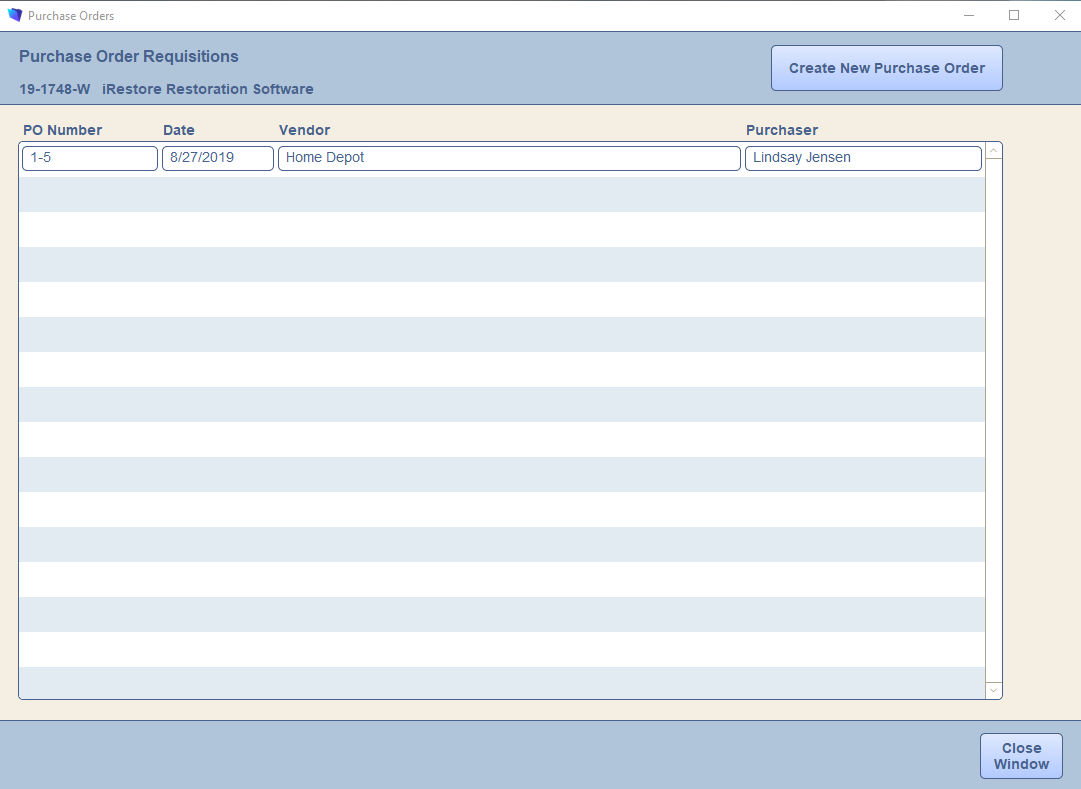
14. The Purchase Orders button allows you to view and create purchase orders for the job.