This HelpDoc will help introduce you to the new calendar/scheduling module available to you in iRestore.
From the Main Menu, go to Calendar. This will pull up your default view.
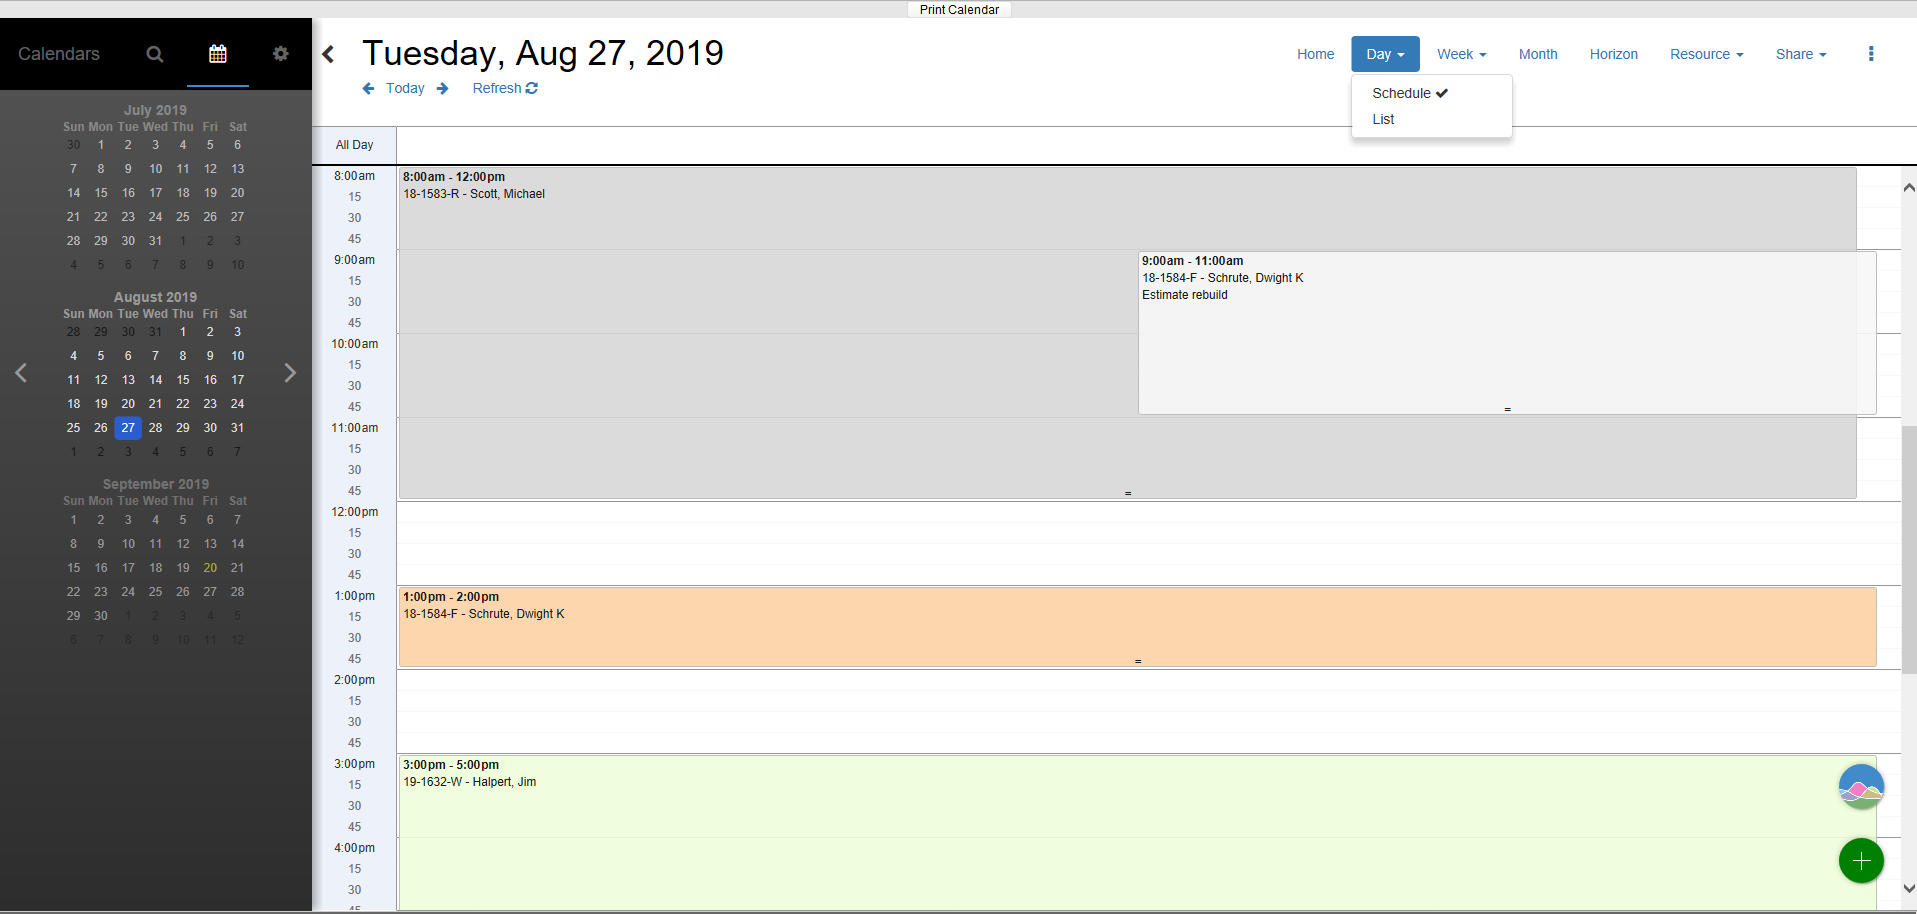
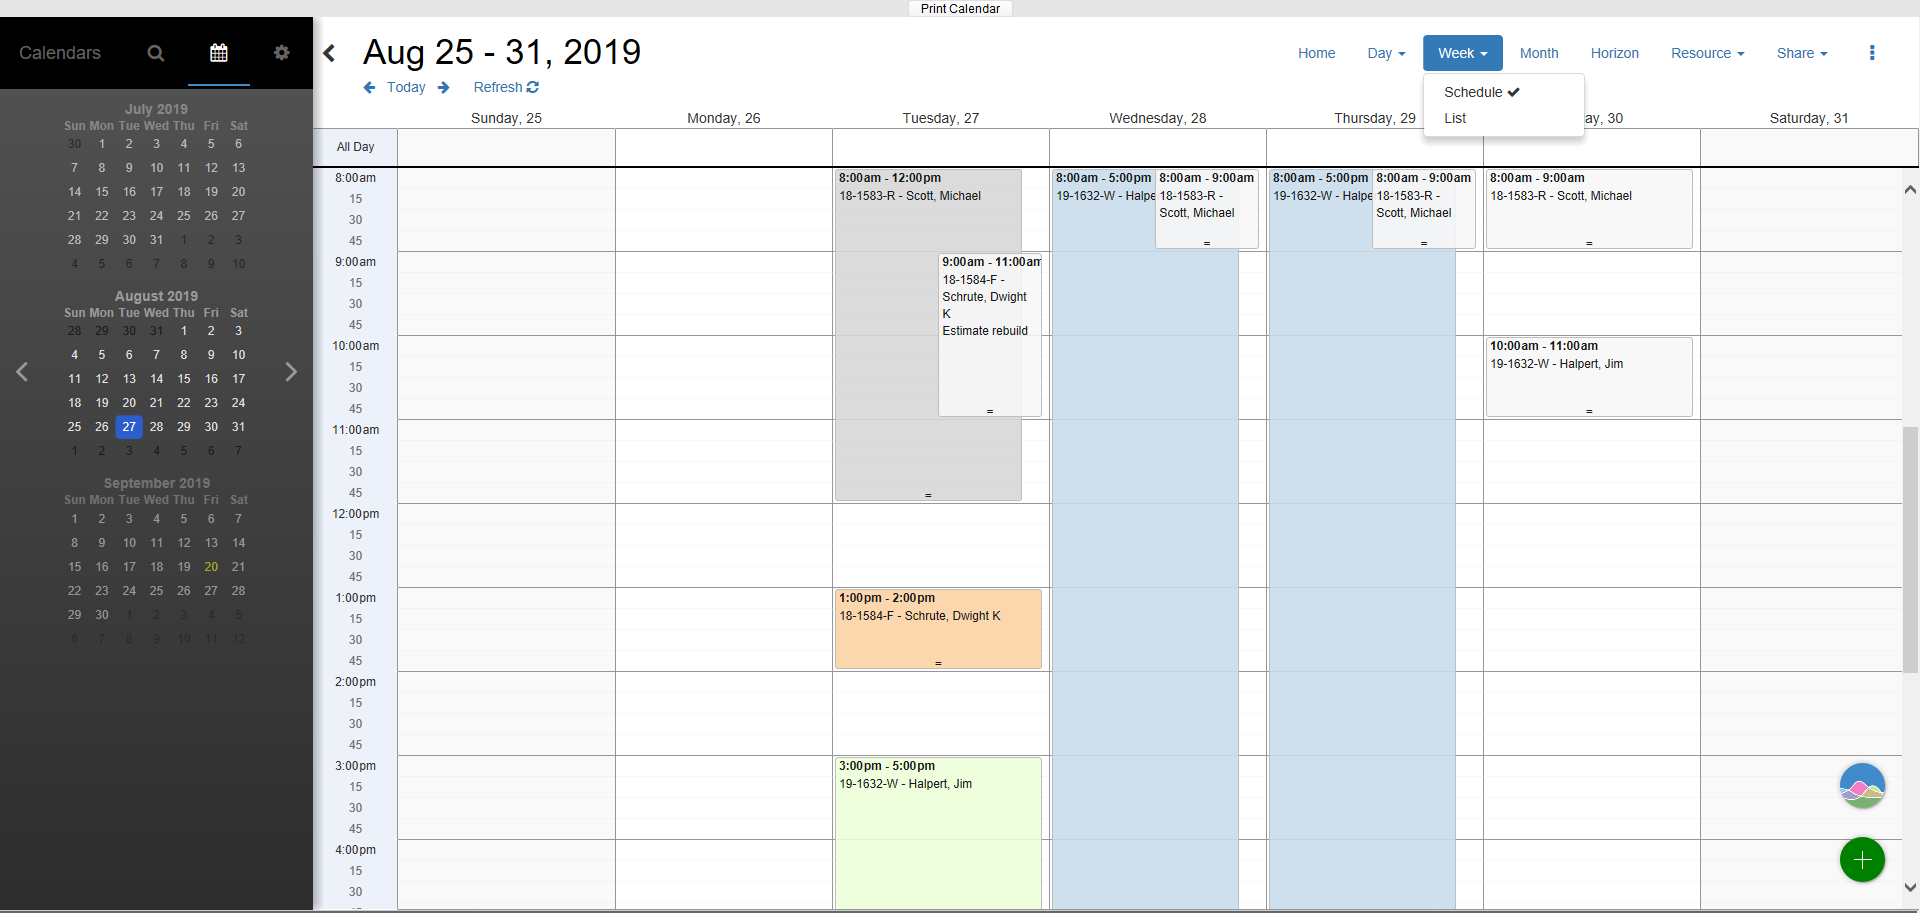
You'll see all the view options in the top right corner: Day, Week, Month, Horizon, and Resource.

Under Day, there are 2 view options: Schedule or List. The Schedule view will show all the appointments for the day selected from the calendar to the left.
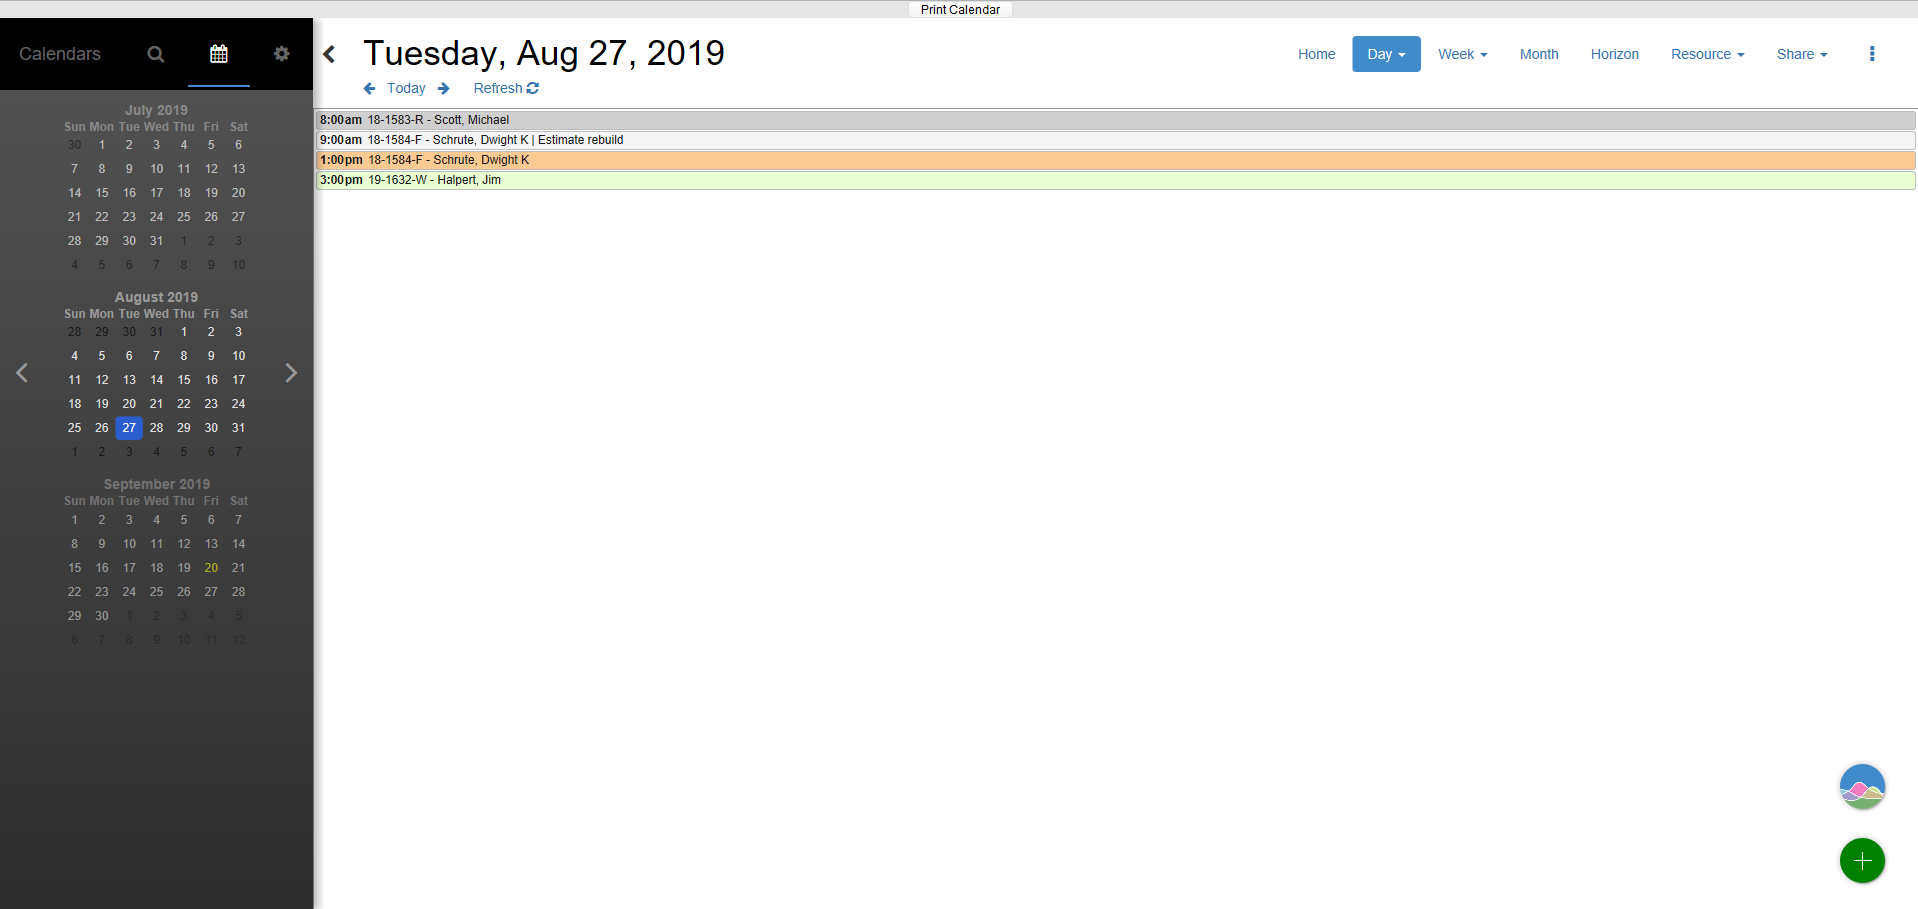
The List view will show all the appointments for the day selected from the calendar to the left in a list format.
Under Week, there are 2 view options: Schedule or List. The Schedule view will show all the appointments for the week selected from the calendar to the left.
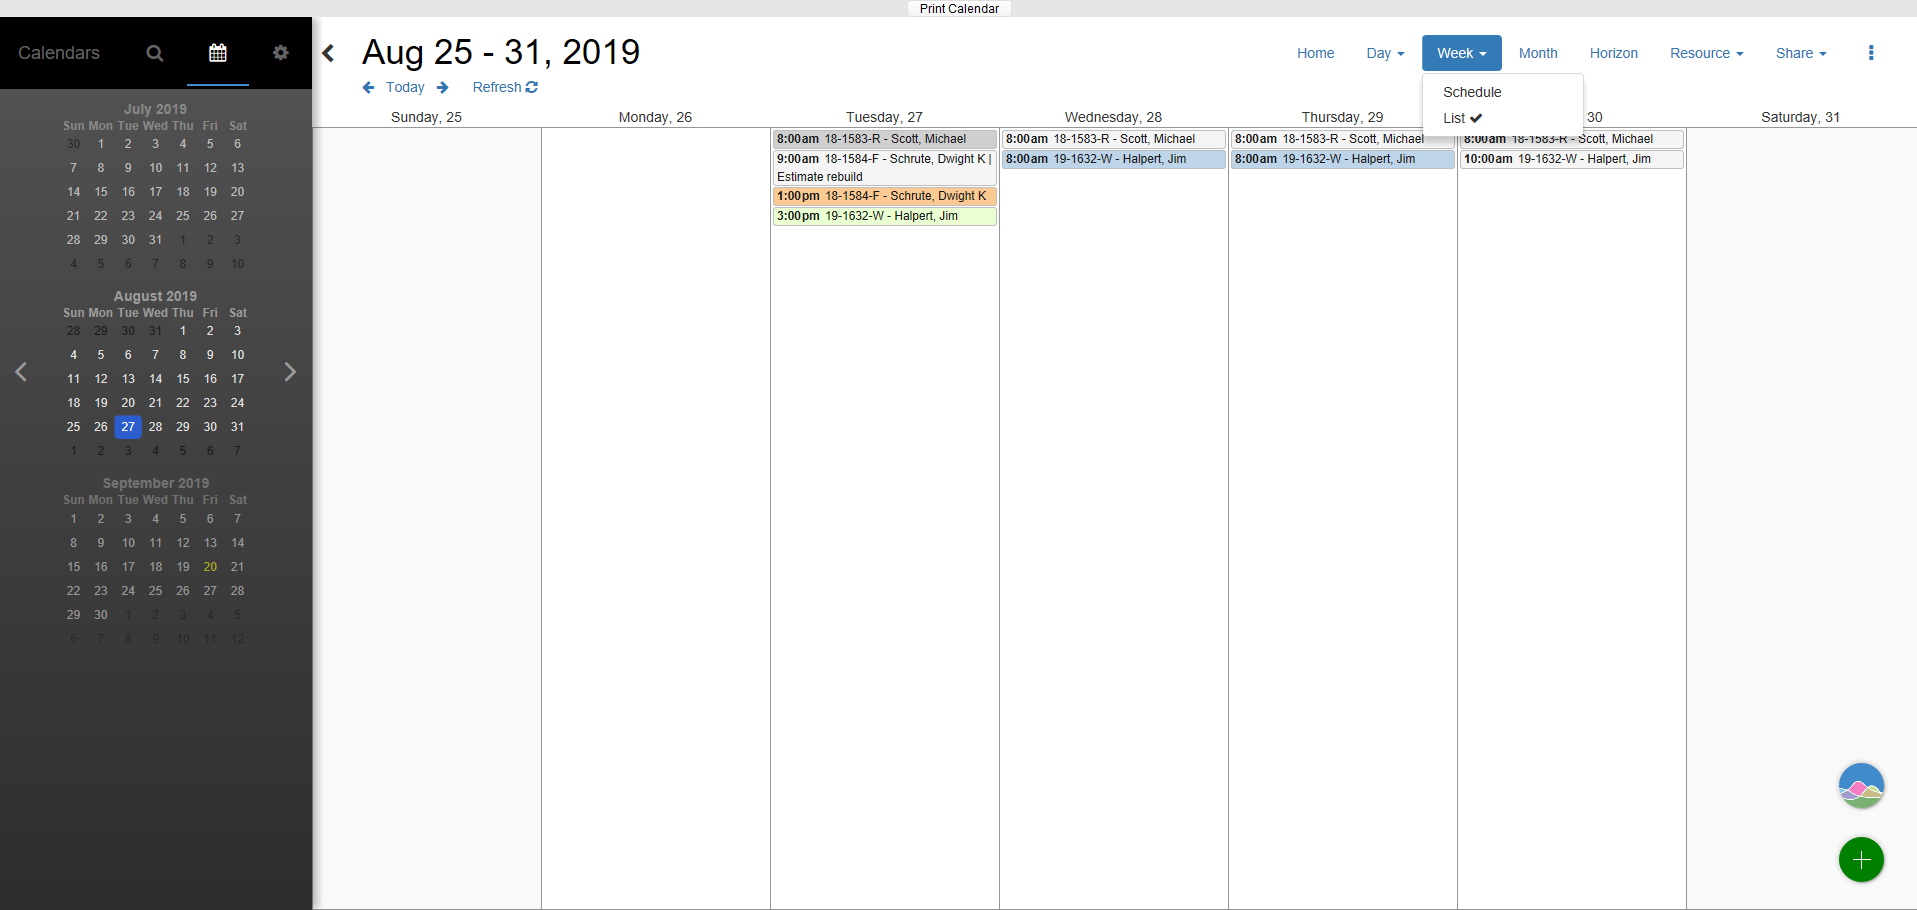
The List view will show all the appointments for the week selected from the calendar to the left in a list format.
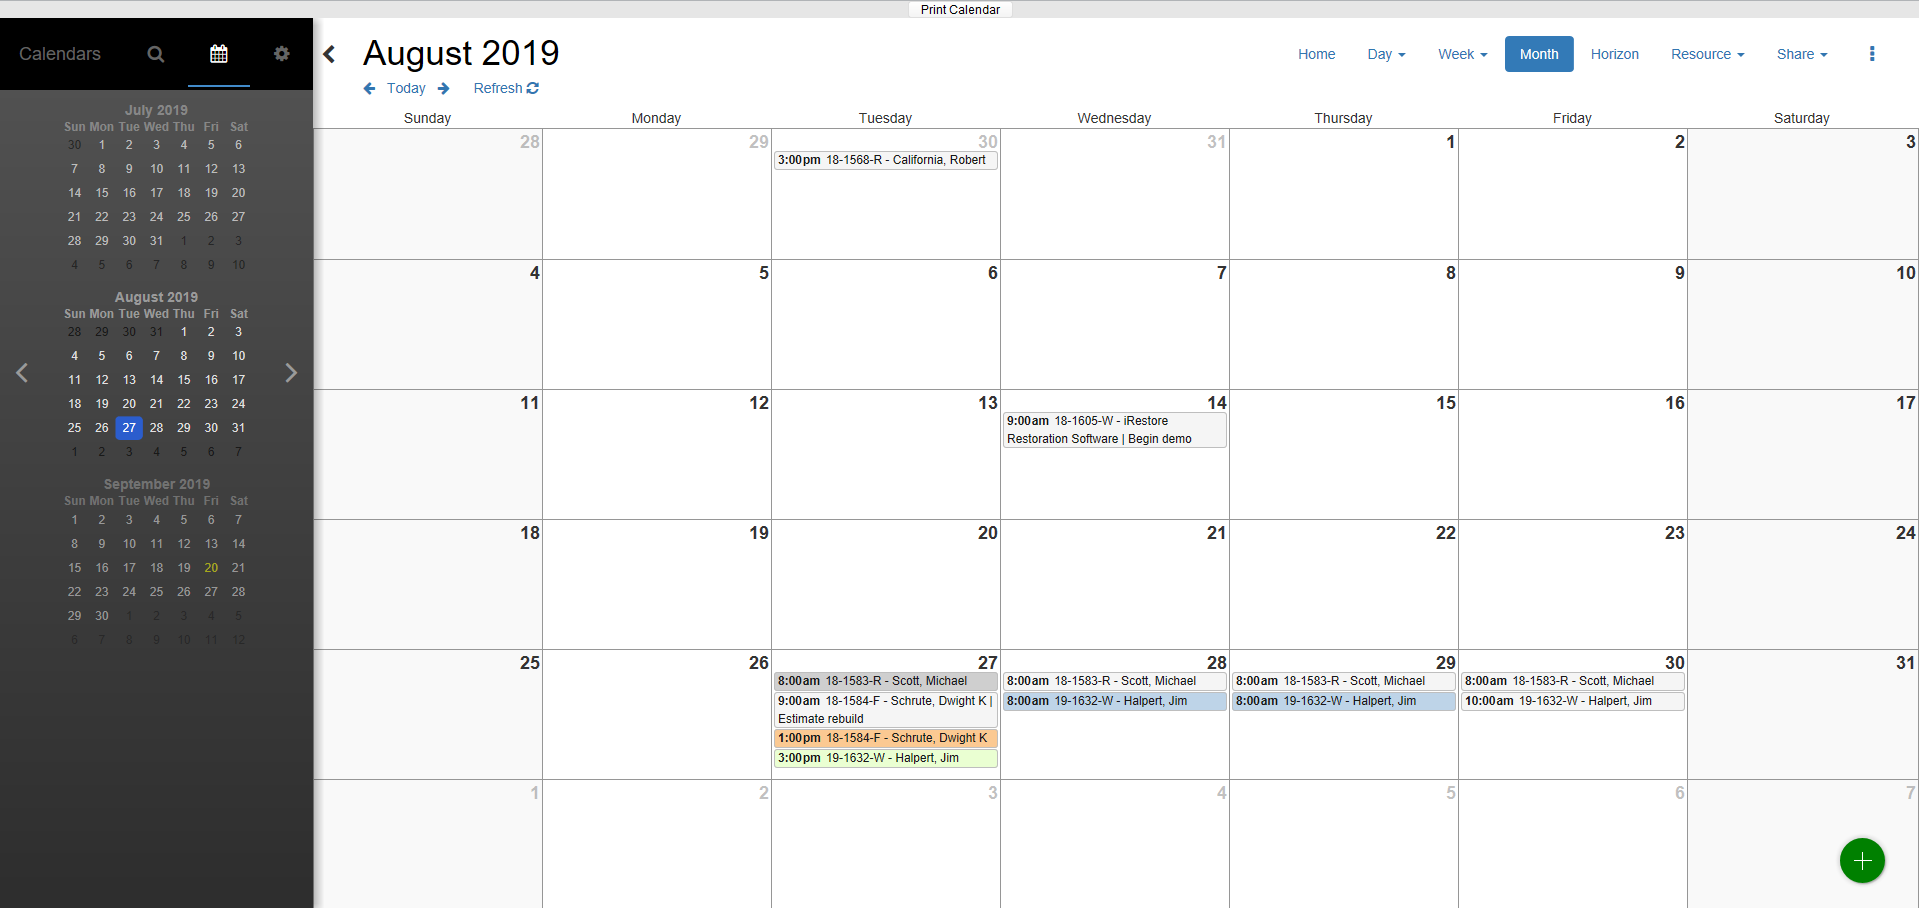
The Month view will show all the appointments for the month selected from the calendar to the left.
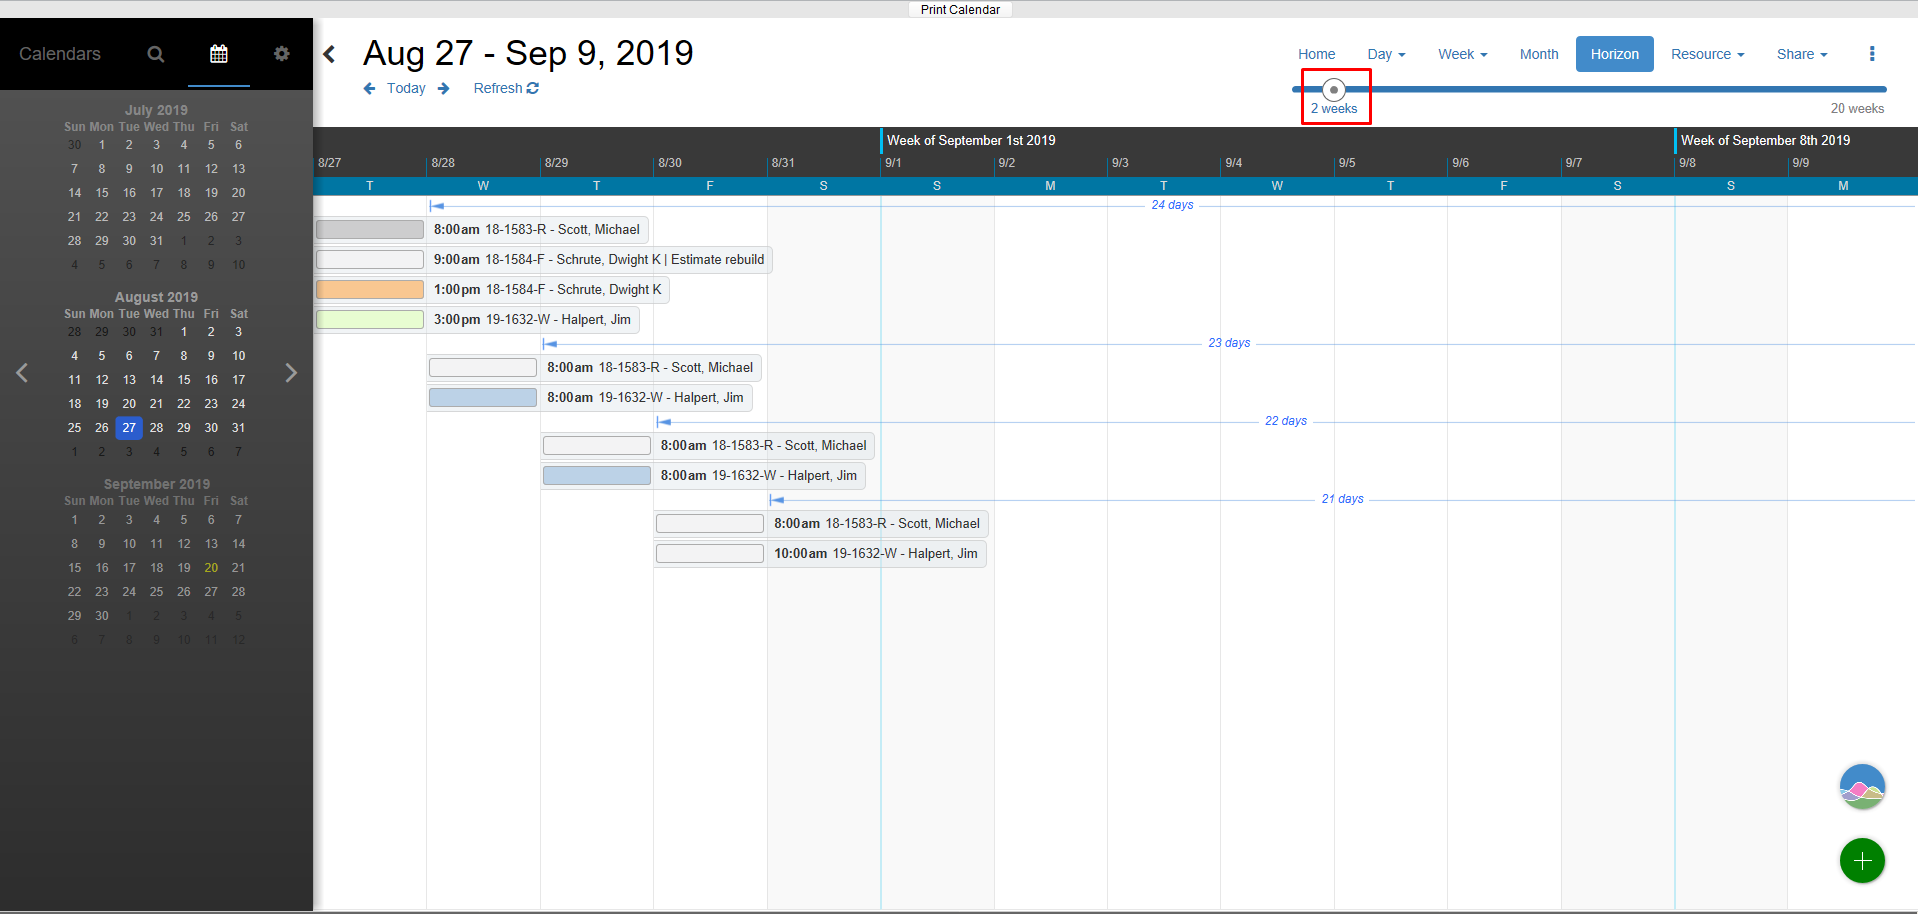
The Horizon view allows you to see all the appointments in the form of a Gantt chart. It begins on the day selected from the calendar to the left. You can adjust this view by sliding the radio button on the timeline.
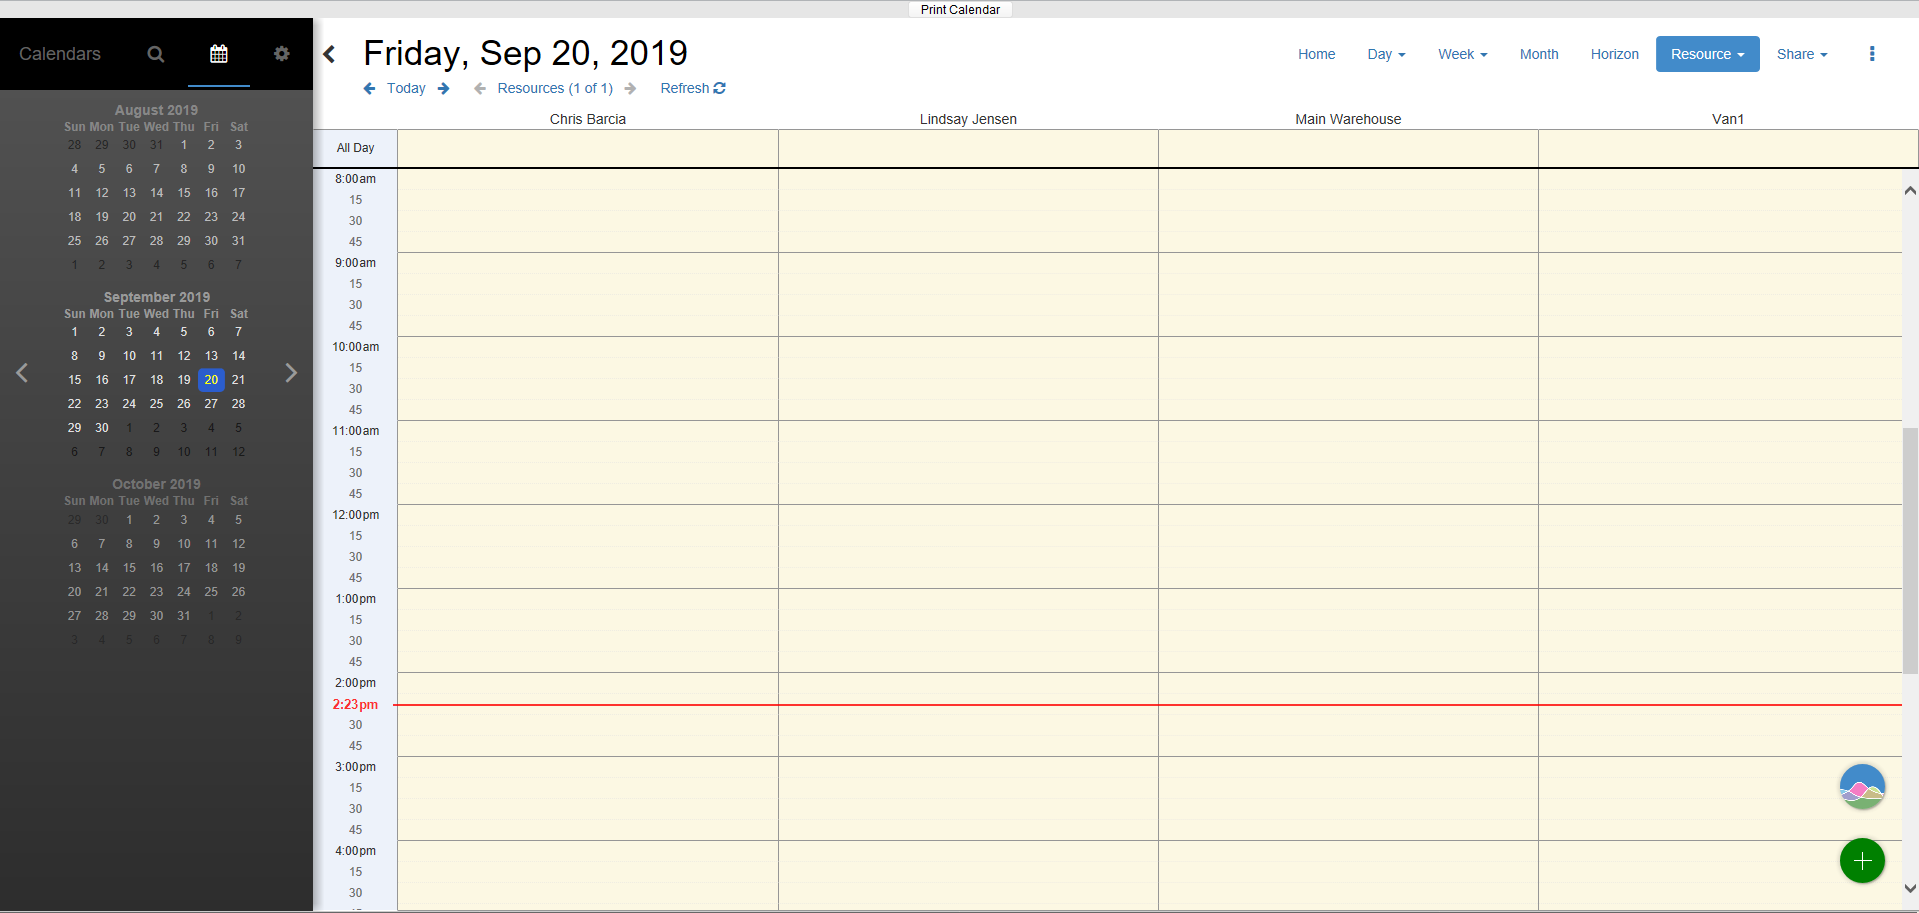
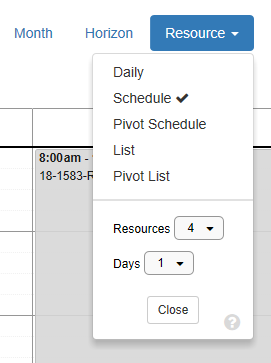
Under Resource, there are several views to choose from: Daily, Schedule, Pivot Schedule, List, and Pivot List. You can also change the number of Resources and Days to further customize your view.
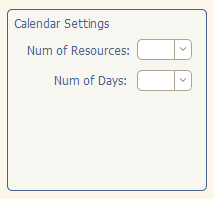
Tip: Under each Employee Detail, users can set their desired number of resources. The calendar will then default to those selections when opened.
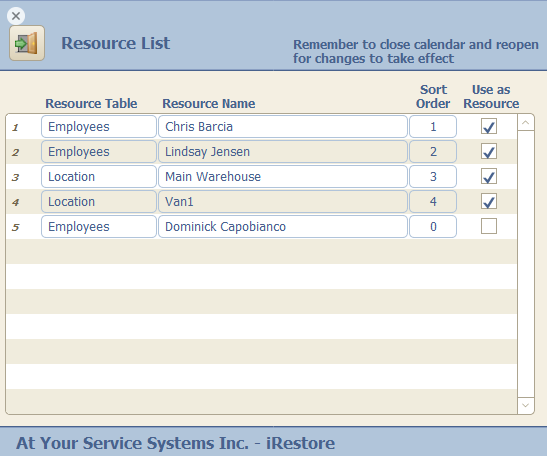
Tip: Under Settings > Resource Manager, you can also set the order you'd like your Resources to be displayed.
You can also adjust the times and days shown on the Calendar.
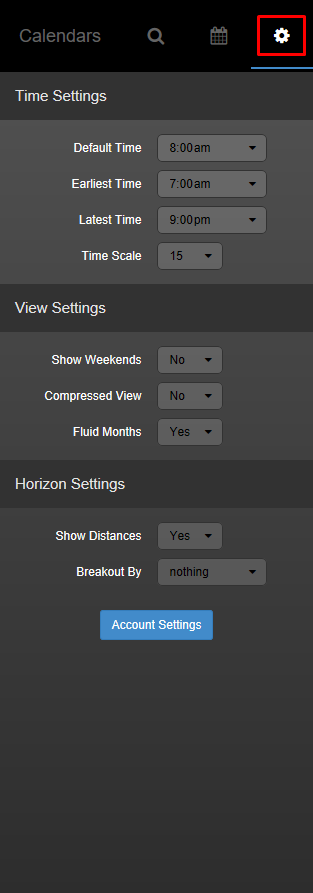
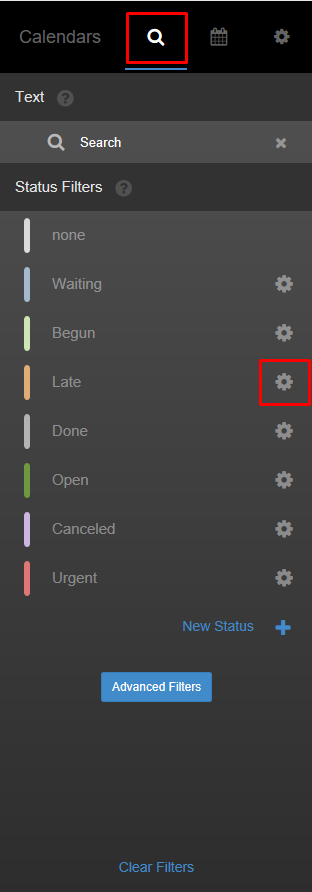
The Status Filters are also customizable by clicking on the gear symbol next to the status.